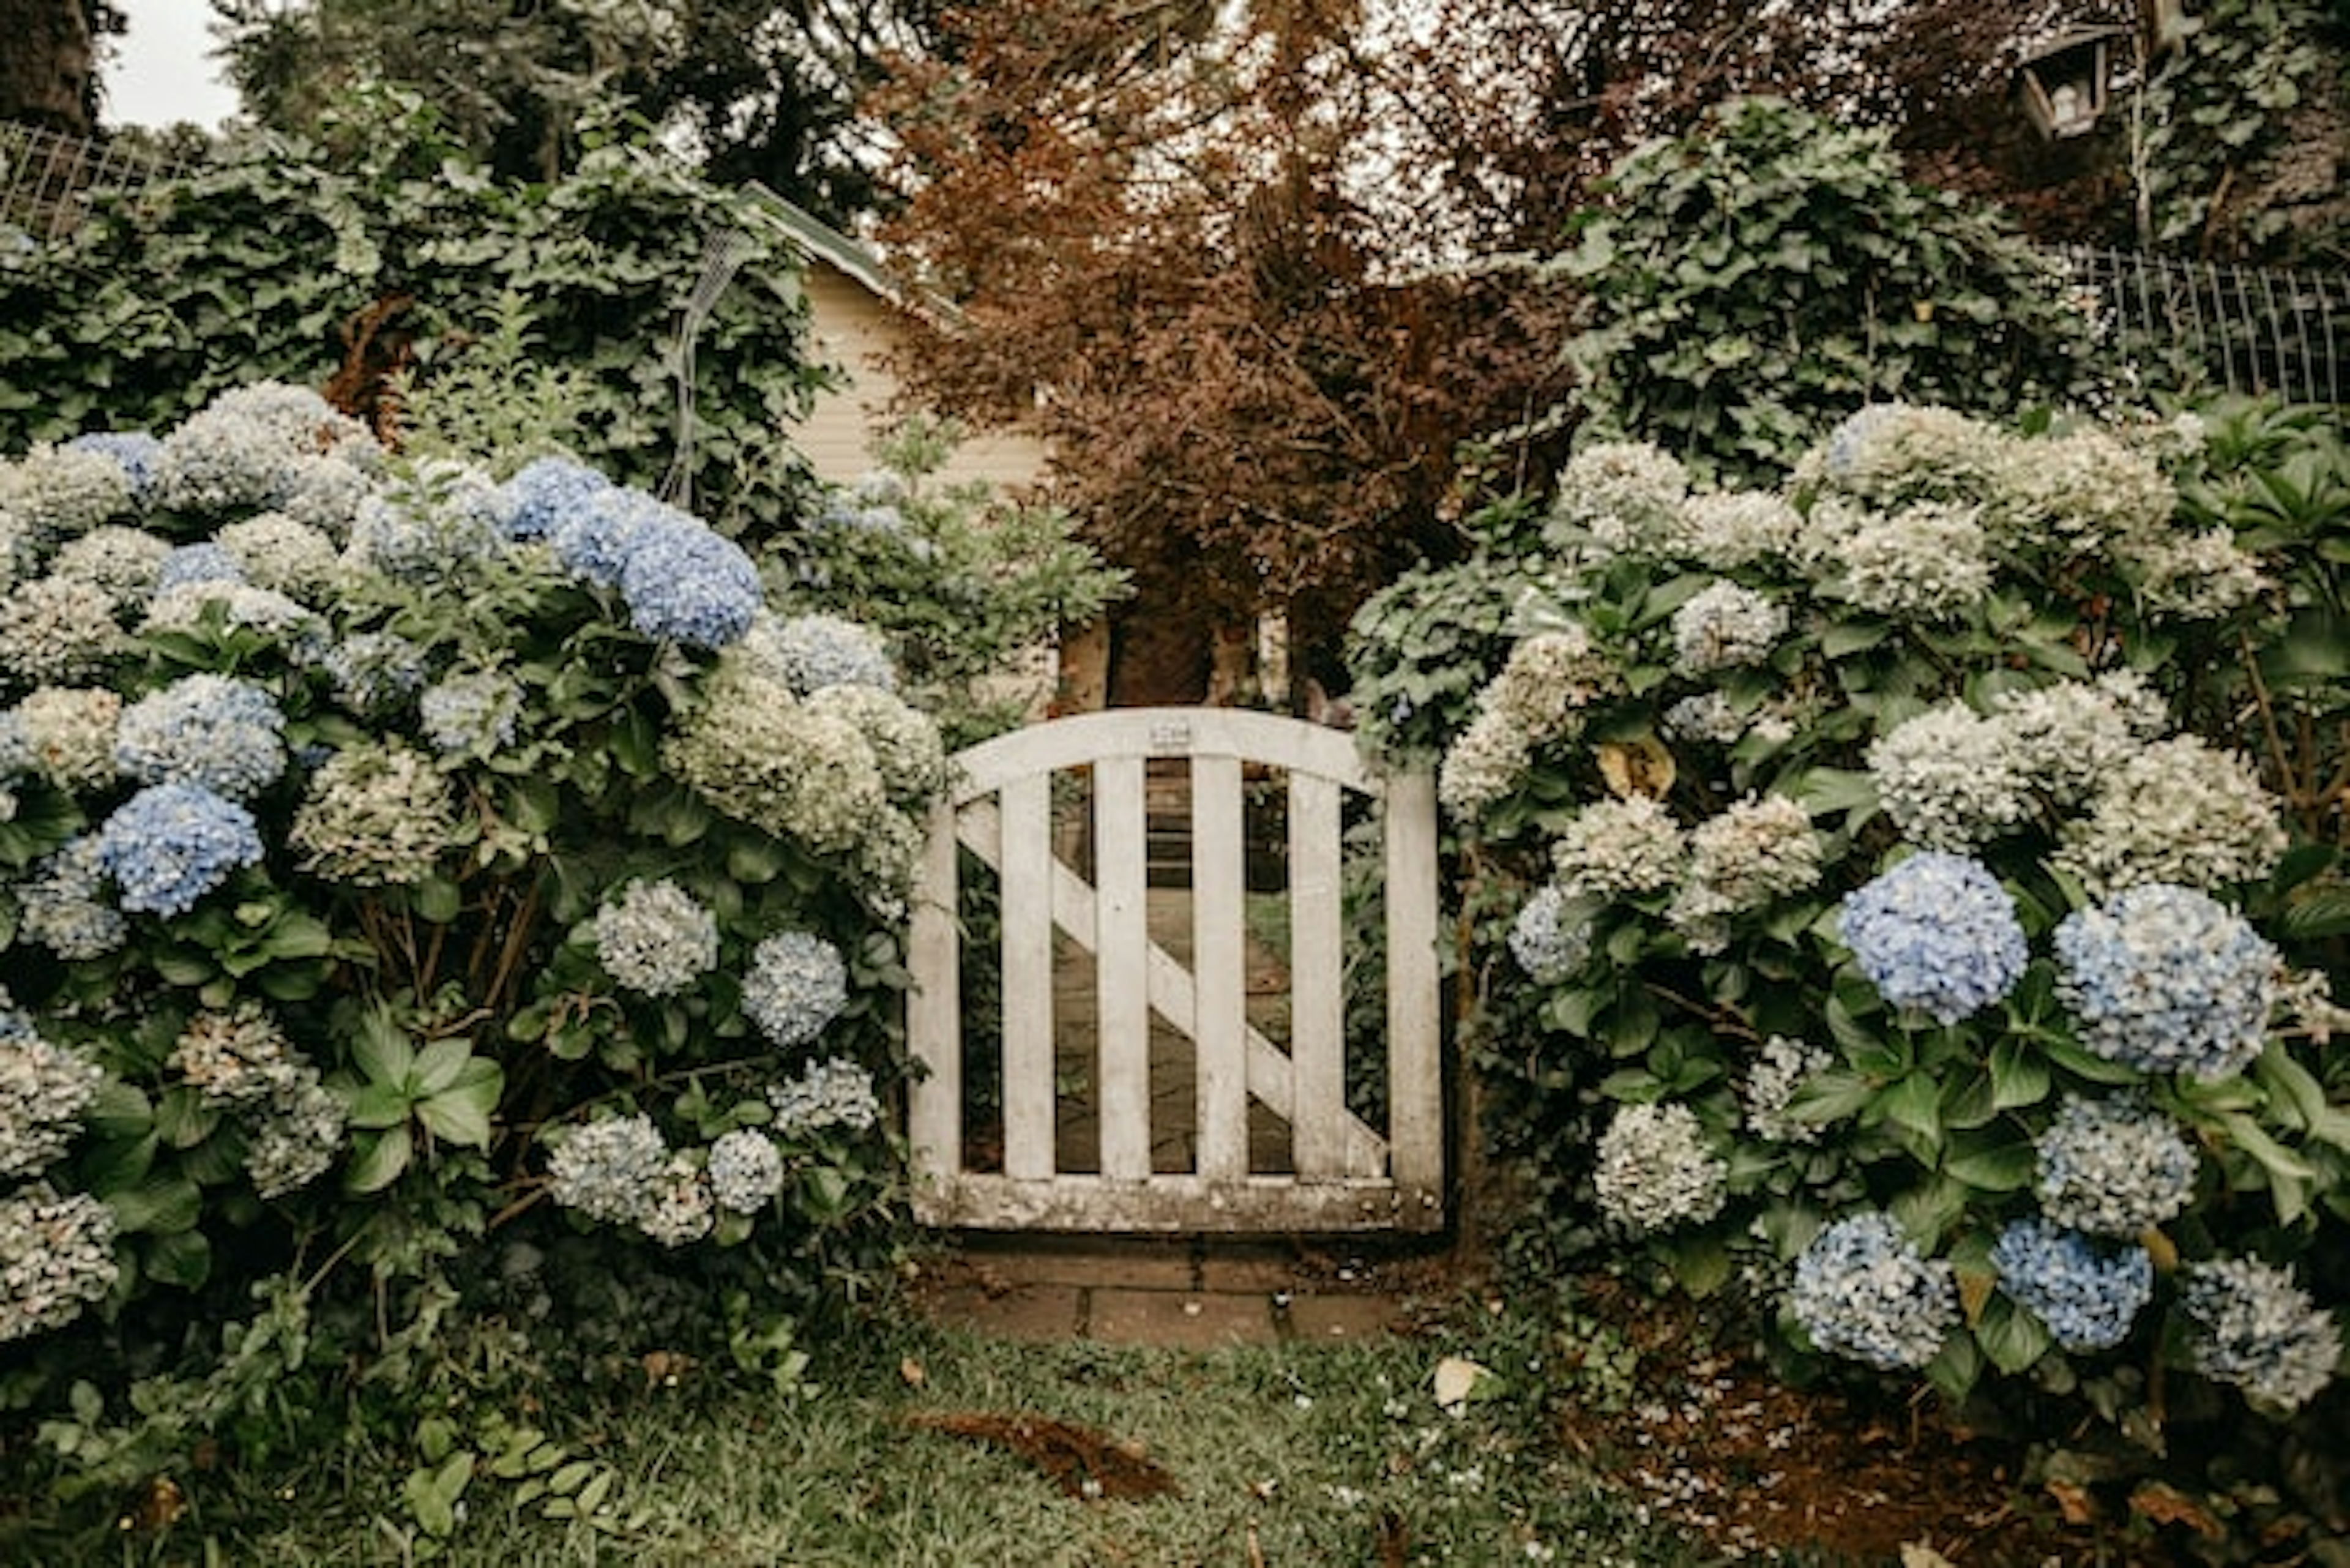
Hydrangea
A Complete Guide to Propagating Hydrangeas
 2 MIN Read
10 Oct 2022
By Michael Jacobson

Propagating hydrangeas gives you access to popular perennial plants that add a beautiful flash of color to any home or garden. With so many colors to choose from, including white, blue, pink, and green, you have plenty of options to complement your existing plants and surroundings
But if you thought that growing your own hydrangeas was complex, think again: whether growing from cuttings or seeds, it’s much easier than it may seem. Find out everything you need to know in this simple step-by-step guide.
When is the best time to propagate hydrangeas?
Hydrangeas are perennial plants that traditionally take root in the fall so that they survive the worst of the winter weather. They grow and bloom during the spring and summer months, and it’s at this time of year that you want to start the propagation process, well in advance of the arrival of the winter frosts.
How to propagate hydrangeas from cuttings
Propagating hydrangeas from cuttings is simpler than you might think. It doesn’t require any specialist know-how or tools: just a clear awareness of how to get each step right. To give your hydrangea cuttings the best chance of success, simply follow these five steps:
How to take hydrangea cuttings
Once a hydrangea plant has leafed, you can take cuttings at any time until the early autumn and plant them indoors. However, when you plant them, you should be sure that you have plenty of time for the cuttings to develop their own roots (ideally at least six weeks). Once they’ve fully taken root, you can move them outside.
How to prepare cuttings
Pick out a healthy plant and make a cutting around four inches long, just below one of the leaf nodes. Make sure that your cutting has plenty of leaf nodes on it, so that it can bloom into a healthy, full-size plant. Then strip off all the leaves, apart from a couple at the very end, so that new roots can develop. Remember that the new plant will look the same as its ‘parent’ once it blooms, so try to pick a color you like!
How to pot cuttings
Place some specialist potting soil into a container and bore a vertical hole (a pen or pencil will give you the right hole width). Carefully lower your stripped cutting down into the hole, ensuring that at least two layers of leaf nodes are buried beneath the surface so that the new roots can grow out within the soil. Pat the soil down so the cutting is fully embedded, place it somewhere out of direct sunlight, and consider creating a humidity dome like a plastic bag over the top to retain moisture.
How to transplant cuttings
Once the roots have fully formed, it’s time to transplant your cuttings into larger containers indoors, or into your garden outdoors. Make sure you keep watering them regularly for the first couple of weeks after planting and consider using a thick layer of mulch or a greenhouse to protect them from frost during the winter.
How to care for hydrangea cuttings
Hydrangea cuttings will need to be watered regularly while indoors, although care should be taken not to over-water them. The soil should be constantly moist, so a good tip is to water them any time the top of the soil feels dry to the touch.
How to propagate hydrangeas from seeds
Although it’s quicker to grow hydrangeas from cuttings, as it bypasses the initial germination process, it’s also easy to grow them from seeds if you prefer to start from scratch, or you don’t have access to any cuttings.
Collect and dry hydrangea seeds
You can, of course, buy hydrangea seeds from your local garden center. Alternatively, if you want to source them from an existing plant, then you can simply cut off the dry flower heads and put them in paper bags for a few days. Once the heads have fully dried out, you can shake the bags and the seeds will fall out.
Sow seeds in potting soil
Use specialized potting soil to sow your seeds, and while you should place the seeds on the top, you should make sure that they aren’t covered by the soil.
Place the pot in a sheltered, sunny spot
With your seeds nicely spaced out and resting in their pots, the next step is to find somewhere where they can germinate easily. You should keep them indoors but in a place that will get plenty of sunlight over the course of the day, such as a windowsill or on the floor by patio doors.
Keep hydrangea seeds moist until germination
It’s important to keep the seeds moist through their initial potting stage so that they have the water as well as the sunlight that they need to germinate. Keep a close eye on moisture levels and water the seeds as you feel is appropriate.
Pot when hydrangea is large enough to handle
The seeds will normally take two weeks or so to germinate, and once they’re large enough for you to pick them up, you can transfer them into your outdoor pots so they can continue to grow.
Where can you find out more about hydrangea care?
Any good garden and flower specialist will be able to answer any questions you may have about growing hydrangeas, either from cuttings or from seeds.
Buy beautiful hydrangeas online today
At French Florist, we sell stunning hydrangea bouquets that can brighten up your home or garden straight away. What’s more, you can then use the cuttings or seeds to grow your own, and if you order before 2 pm, we can deliver to you within the local LA area today. Take a closer look at all of our hydrangea arrangements here.
#FFinstagram
FRENCHFLORIST